Introduction:
Initially, the Espelism dresser in the Lydia character’s home can impress the client as being complex. Correct instructions turn this into a simple task. This complete guide also contains step-by-step directions that will assist you in the construction of your dresser to make sure it is handled correctly and safely. Follow these Espelism dresser assembly instructions carefully, and you’ll have a beautiful and functional piece of furniture in no time.
Unpacking Your Espelism Dresser
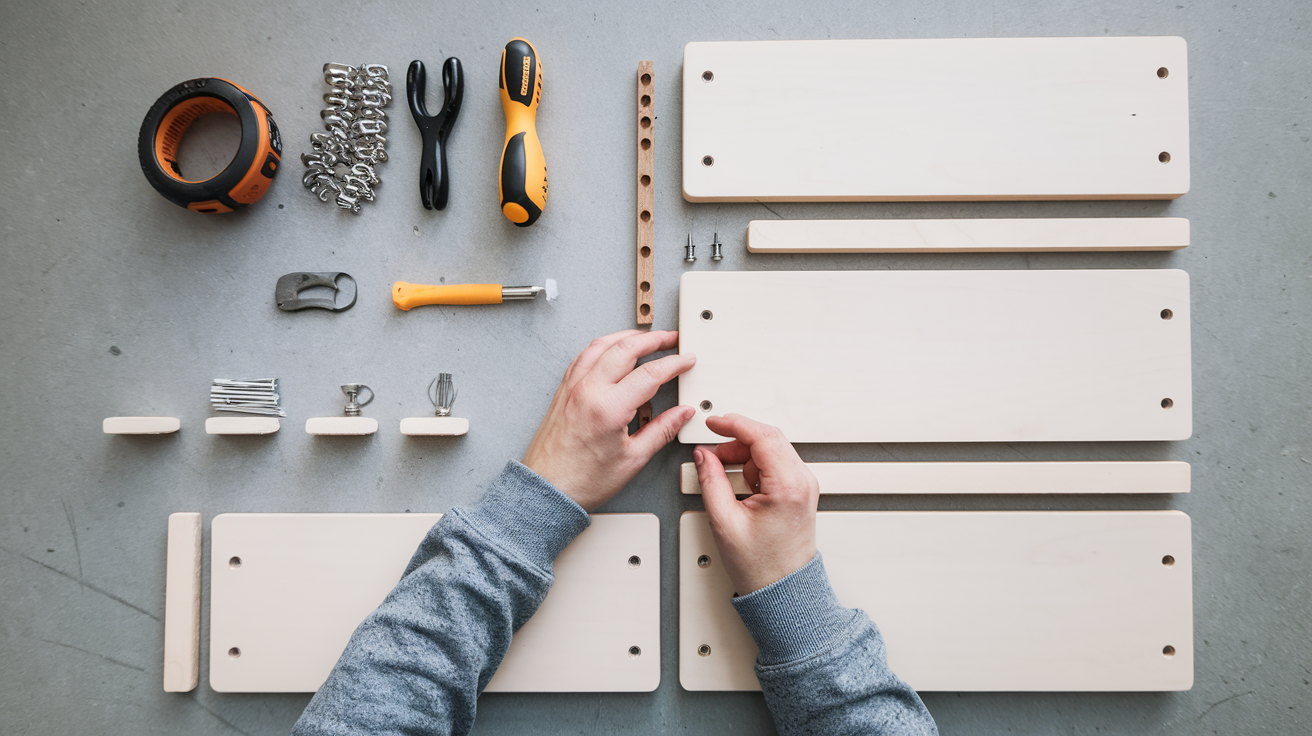
The first step in following the Espelism dresser assembly instructions is unpacking the box. As a final step in manufacturing, products should not be assembled unless and until the inventory has been cross-checked and confirmed for piece count. Place these pieces on a flat surface that remains steady or unmoving. Make sure that no items within the products are damaged before they are received and put in the bin.
You should find:
- Panels for the dresser body
- Drawer parts
- Screws and hardware
- Assembly tools (if included)
- Instruction manual
Keep everything organized. Such a practice shall lead to increased efficiency in the assembly stages.
Tools You’ll Need
The Espelism dresser assembly instructions usually include the tools you’ll need. A list of tools is always taken in the shipment case regularly. If not, you might need the following:
- Phillips screwdriver
- Flathead screwdriver
- Hammer
- Allen wrench
- Measuring tape
These materials, being available, make your working process faster.
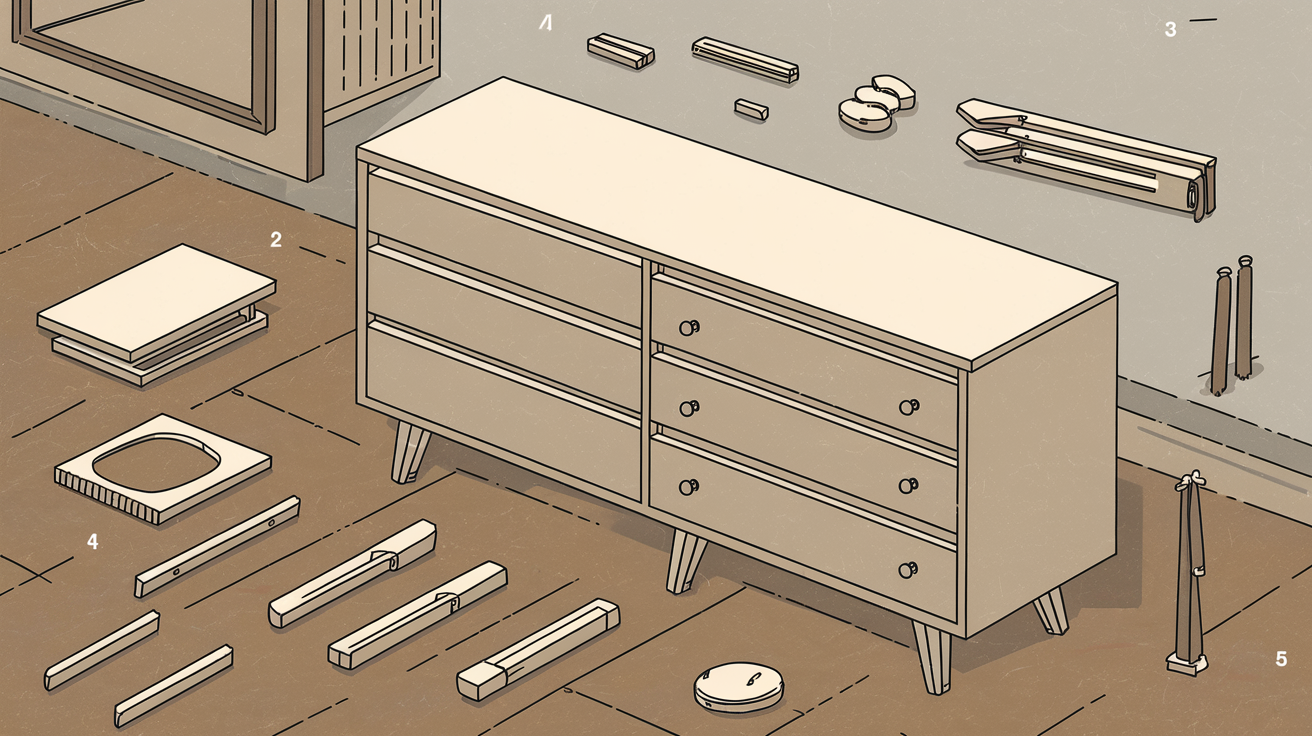
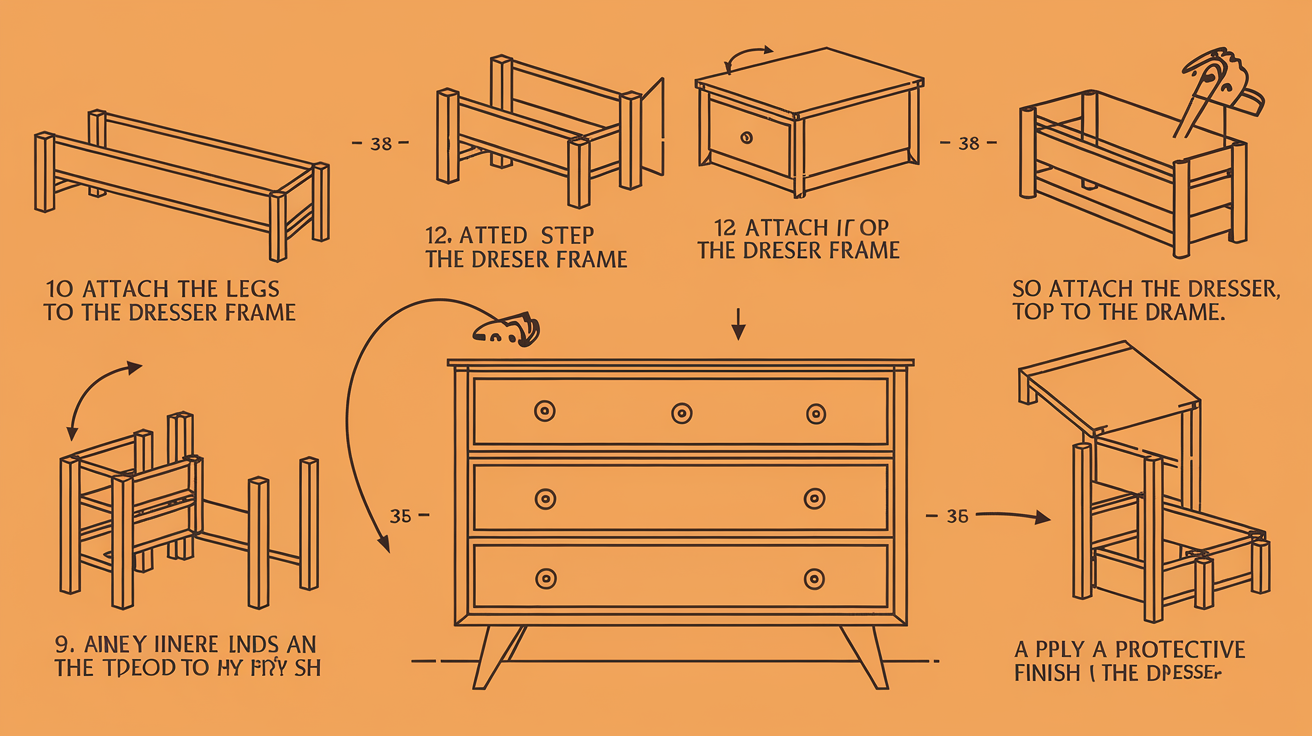
Step 1: Assembling the Frame
Following these procedures, make the Espelism dresser frame as indicated below. During assembly, position the side panels adjacent to the more complex top and bottom panels. Follow the Espelism dresser assembly instructions to connect these pieces.
Screw and bolt panels into place with screws together with bolts. Tighten all fasteners solid but do not over torque…. Increased pressure during screwing is not beneficial for the wooden frame and degrading the fasteners.
Once done, fix the frame to the wall and check that it is stable and safe. The framework possesses adequate tensile strength to proceed to the subsequent operation.
Step 2: Installing the Drawer Tracks
They mount drawer tracks into the post of the frame structure. The tracks help increase the sliding movement of the various components making up a drawer. The Espelism dresser assembly instructions will show you where each track goes.
The track must fit perfectly into the groove prepared from the side panels cut earlier. Use screws to secure them. Before going on, make sure that the track lines are straight. Therefore, noisy drawer operation is the outcome of unlevel drawer tracks.
Step 3: Assembling the Drawers
Construction of the drawers starts now. Lay out the drawer parts. Every compartment of the drawer comprises front, back, side, and bottom members.
Follow the Espelism dresser assembly instructions to connect the pieces. Secure side panels with bolts to the front and back panels. Once you fit the bottom panel into the grooves. Secure everything tightly.
This step is repeated for each drawer until all necessary drawers are built. When drawing assembly completion, you must ensure all drawers retain their stability.
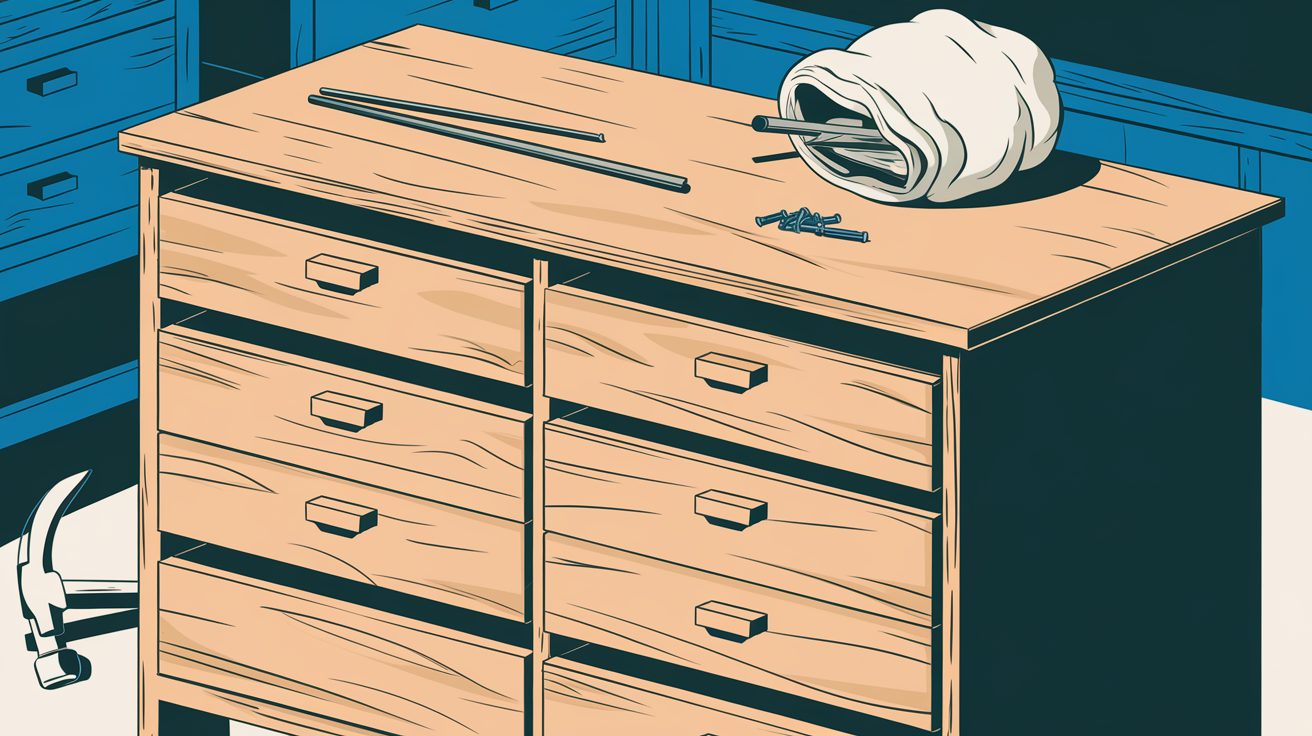
Step 4: Attaching the Drawer Handles
Your Espelism dresser assembly instructions will guide you on attaching the drawer handles. Just as with other parts of a car interior, drawer handles are a decoration and a welcome enhancement to the drawers themselves.
Look into the holes drilled on the fronts of your drawers earlier on. Place these holes where the drawer handles are supposed to rest and then fit the handles through them into place. Insert screws in the back face of the drawer fronts, but at the end, screw these through the handles. Check the security of the drawer handles to some extent so that they are neither too loose nor too tight.
Step 5: Inserting the Drawers
The next step is to arrange the drawn-up drawers into the just-assembled frame before giving the dresser its finishing touches. Extend the pull drawers over the metal tracts provided within the frame body. Follow the Espelism dresser assembly instructions to ensure proper alignment.
Push the drawers in slowly. They should slide smoothly. When one drawer sticks, the possibility of the rail tracks needing an adjustment should be investigated.
Using every drawer, open and shut each to identify whether the motion is weird. Adjust if necessary.
Step 6: Securing the Dresser
Despite this, you should install your Espelism dresser using wall mounts to enhance your safety. The Espelism dresser assembly instructions recommend this step, especially if you have children.
It also has two additional furniture pockets to attach to your dresser for safety. Multiple safety brackets must be connected to the rear side of the dresser, and they should hang down so they can lock into the wall. An added wall attachment system prevents your dresser from tipping over forward.
Troubleshooting Common Issues
Lub dan quite often brings technical problems at peaceful assemblies. Here are a few common issues and solutions:
- Missing Parts: Double-check the box and packaging. Contact the manufacturer if needed.
- Loose Screws: Snap-in or retaining rings that are loose, fixed position, or circular.ibm drawn rings that require tightening. Avoid over-tightening.
- Misaligned Drawers: Check your drawer tracks later and adjust them if needed.
- Wobbly Frame: Make sure to bear down all nuts and screws evenly on the structure.
If you follow the Espelism dresser assembly instructions closely, most issues can be avoided.
Tips for a Successful Assembly
- Read the Espelism dresser assembly instructions thoroughly before starting.
- Put together the piece in a large, spacious area with a clear, flat surface.
- Ask for help if needed. As with most things in life, having an extra person by your side typically speeds up this process.
- Take your time. Rushing can lead to mistakes.
- These procedures will provide a simple assembly process free from various hurdles.
Maintenance and Care
After you have assembled the Espelism dresser, clean it properly and take all necessary measures to ensure maximum freshness. Here are some maintenance tips:
- It is advised that a soft cloth should be used to clean it if it is slightly wet.
- It is also essential to avoid placing materials of much weight on the top surface.
- Screws are tightened from time to time to avoid a situation when it becomes unstable.
- Other ways to prevent your surface area from getting scratched are to use coasters or mats.
Some of the care practices that will extend the durability of your dresser include the following: Drawer care practices.
Conclusion
The Espelism dresser assembly process still retains easy working procedures in its operations. By following these Espelism dresser assembly instructions, you can complete the process step by step. ิลลीए přečiqt během práce stejně jako procesová najístrenější nástroje a dbajte na detaily.
Because of its features, the final product will be very nice-looking and useful once the assembling process finishes. Keep this information guide for future use. Enjoy your new Espelism dresser!